You can access creamer freshness by freezing it, extending its shelf life for 4-6 months. There are three main freezing methods: bulk storage, portion control, and individual servings using ice cube trays. Non-dairy creamers freeze well without texture changes, while dairy options may separate slightly. Use airtight, freezer-safe containers and label them with the freezing date. When thawing, only defrost what you'll use within 5-7 days. Thaw larger portions in the refrigerator overnight, and individual servings as needed. Always shake or stir thawed creamer before use. By mastering these freezing techniques, you'll discover the secret to long-lasting, fresh creamer.
Creamer Freezing Basics
Freezing coffee creamer is surprisingly simple and can greatly extend its shelf life. You'll enjoy freezing benefits like preserving your creamer for 4-6 months, whether it's opened or unopened.
Unlike water, coffee creamer doesn't expand much when frozen, so you can keep it in its original container. For opened bottles, label them with the freezing date to track freshness.
When it comes to flavor retention, frozen creamer maintains its taste well. However, once thawed, use it within 5-7 days and always check for signs of spoilage before each use.
It's worth mentioning that while non-dairy creamers freeze and thaw without significant changes, dairy creamers may separate and alter in texture. If you're freezing dairy creamer, follow the bottle's instructions for best results, and mix thoroughly after thawing to ensure great taste.
Three Freezing Methods
Now that you understand the basics of freezing creamer, let's explore three effective methods you can use to preserve your favorite coffee companion.
The first method is bulk storage. Purchase extra bottles and freeze all but one, thawing a new bottle as needed. This approach saves money and prevents wastage.
The second method focuses on portion control. Freeze half a bottle in a separate container, extending its shelf life while keeping the other half fresh in the refrigerator.
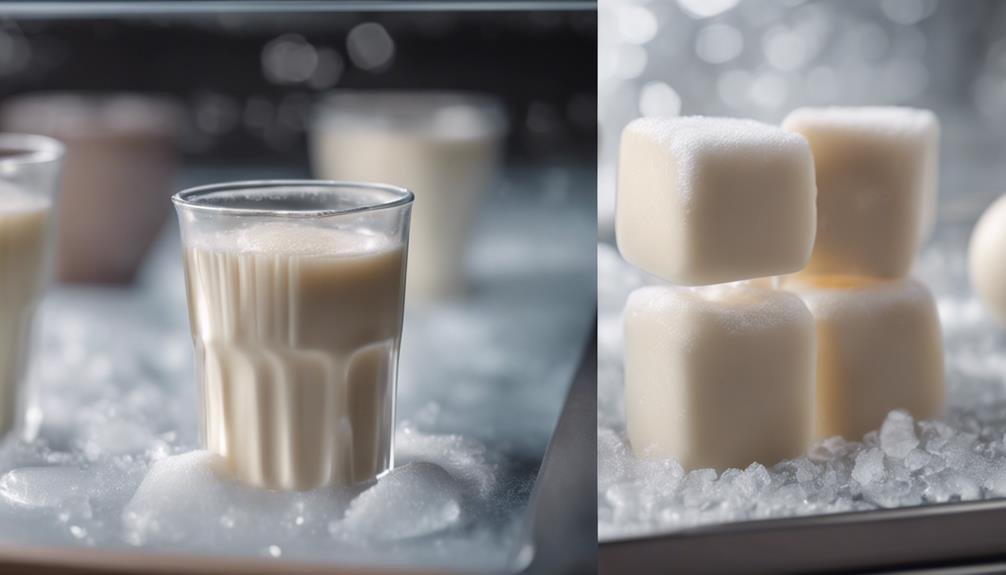
Finally, try freezing individual portions using an ice cube tray. This method is perfect for those who use small amounts of creamer daily.
Each of these techniques offers unique benefits, from cost savings to convenience. By choosing the method that best suits your lifestyle, you'll make sure your creamer stays fresh and ready for your morning brew.
Dairy Vs. Non-Dairy Considerations
When it comes to freezing creamers, you'll find a significant difference between dairy and non-dairy options. Non-dairy creamers typically freeze and thaw without noticeable taste differences or texture changes. You can confidently freeze these options without worrying about altering their quality.
Dairy creamers, however, may present some challenges. They're more likely to separate and experience texture changes when frozen. If you choose to freeze dairy creamers, be prepared for potential alterations in consistency. It's important to follow the instructions on the bottle, as some manufacturers don't recommend freezing their dairy products.
After thawing a dairy creamer, you'll need to mix it thoroughly to restore its original texture. While the taste might remain similar, the mouthfeel could be slightly different. Always check for any signs of spoilage before using thawed dairy creamers to maintain safety and quality.
Storage and Container Tips
Choosing the right containers can make or break your creamer freezing experience. Opt for airtight, freezer-safe options to prevent spills and maintain freshness. When organizing your freezer, label containers with the freezing date and contents for easy identification. Consider these container options and tips:
| Container Type | Pros | Cons |
|---|---|---|
| Original Bottle | Convenient | Limited space |
| Plastic Containers | Stackable | May absorb odors |
| Ice Cube Trays | Portion control | Requires transfer |
| Freezer Bags | Space-saving | Potential leaks |
| Glass Jars | Eco-friendly | Breakage risk |
To prevent spills, leave some headspace in containers for expansion. When organizing your freezer, place creamer containers near the front for easy access. Use clear containers or labels to quickly identify contents. By following these storage and container tips, you'll make sure your frozen creamer stays fresh and easily accessible.
Thawing and Usage Guidelines
Once you've successfully frozen your creamer, it's important to understand the proper thawing and usage methods to maintain its quality and safety.
When it's time to use your frozen creamer, employ effective thawing strategies to preserve freshness. Remove only the amount you'll consume within 5-7 days, keeping the rest frozen. For larger portions, thaw in the refrigerator overnight.
If you've frozen individual servings, you can thaw one cube at a time as needed.
After thawing, give the creamer a good shake or stir to guarantee proper mixing, especially for dairy-based options. Always check for any signs of spoilage before use.
Conclusion
You've now discovered the secrets to preserving your creamer's freshness through freezing. Like a time capsule for your coffee companion, these methods guarantee you'll always have creamer at the ready.
By following the freezing basics, choosing the right method, and understanding the differences between dairy and non-dairy options, you'll maximize your creamer's lifespan.
With proper storage, thawing, and usage techniques, you'll save money and reduce waste. Embrace these freezing hacks to revolutionize your coffee routine.