Your Mr. Coffee isn’t brewing — and you’re standing in the kitchen, caffeine-deprived, staring at a machine that’s supposed to make your morning effortless. Here’s the good news: in the vast majority of cases, a Mr. Coffee that won’t brew has one of just a handful of easily fixable causes. Most people resolve the problem in under 15 minutes without calling a technician or buying a new machine.
Quick Takeaways
- Over 60% of Mr. Coffee “not brewing” complaints trace back to mineral buildup or a clogged brew needle — both fixable at home in minutes.
- A simple white vinegar descale resolves the single most common cause: calcium and limescale blocking internal water flow.
- A blown thermal fuse is the most common electrical failure and costs under $8 to replace.
- Regular descaling every 40–80 brew cycles prevents most problems before they ever start.
Why Is My Mr. Coffee Not Brewing? The Most Common Causes
Before you start dismantling your coffee maker, it helps to understand what’s most likely going wrong. Mr. Coffee machines are reliable drip brewers, but they share a few universal weak points. Appliance repair data shows that mineral buildup is responsible for roughly 60–70% of drip coffee maker failures across all brands. Hard water deposits coat the internal heating element and narrow the tubes that carry water to the brew basket — eventually reducing flow to a trickle, or stopping it entirely.
The second most common culprit is a clogged brew needle or a blocked filter basket. Coffee grounds, dried oils, and debris build up over time and physically block water from reaching the coffee. After that, the usual suspects include a tripped thermal fuse, a misaligned carafe or lid, or a basic power issue that often gets overlooked in the frustration of a coffeeless morning.
The approach that works best: start with the simplest, most likely fixes and work your way toward the more technical ones. Most people find their solution within the first two or three steps.
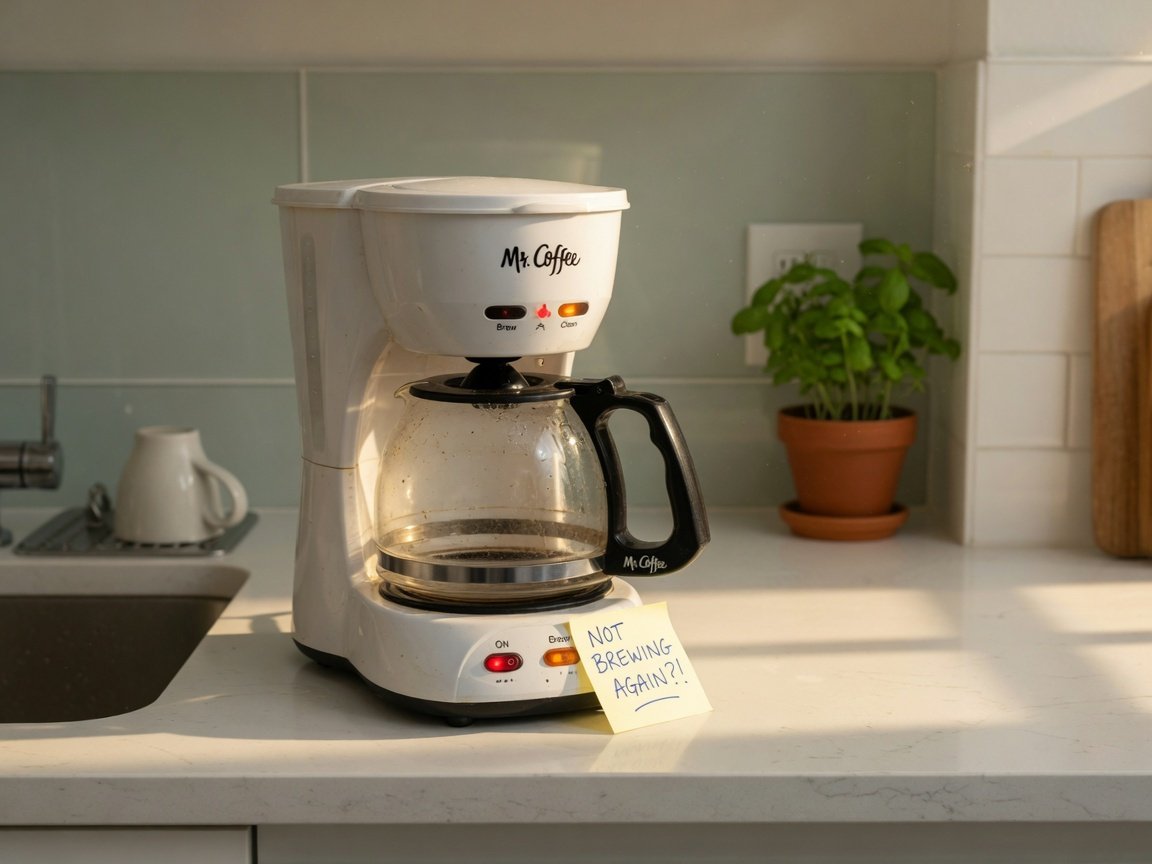
Fix 1: Check the Basics — Power, Water, and Carafe Position
It sounds too simple, but appliance technicians estimate that around 15–20% of “broken” coffee makers brought in for repair have nothing physically wrong with them beyond a loose plug or an improperly seated carafe. Before anything else, run through this checklist.
- Test the power outlet. Plug a lamp or phone charger into the same outlet to verify it’s live. Kitchen outlets are often on GFCI circuits — look for a tripped GFCI outlet nearby and press the reset button if you find one.
- Inspect the power cord. Look for visible damage, kinks, or fraying along the entire length. A damaged cord can cause intermittent power loss that looks like a brewing failure.
- Check the water reservoir level. Make sure it’s filled above the minimum line and properly clicked into place. Some Mr. Coffee models include a sensor that prevents brewing if the reservoir isn’t correctly seated.
- Seat the carafe properly. Most Mr. Coffee drip machines have a safety switch under the warming plate that requires the carafe to be centered and fully seated before brewing can start. A slightly off-center carafe is enough to prevent the switch from engaging.
- Close the lid completely. Many models have a lid-detection mechanism. An unlatched lid tells the machine not to brew — it’s a spill-prevention safety feature, not a defect.
If everything here checks out and the machine still won’t brew, move on to the next fix.
Fix 2: Descale Your Mr. Coffee to Remove Mineral Buildup
This is the fix that solves the most problems, hands down. Mineral deposits — primarily calcium carbonate from hard water — accumulate inside your coffee maker’s boiler, heating element, and water tubes every single time you brew. According to the U.S. Geological Survey, approximately 85% of American homes have moderately hard to very hard water, which means most Mr. Coffee machines are in a constant battle against scale from day one.
When scale builds up enough, it restricts water flow and forces the heating element to work harder. That added strain can eventually trip the thermal fuse — which means what looks like an electrical failure is actually a downstream consequence of a descaling problem. The good news is that white vinegar dissolves calcium deposits quickly, safely, and cheaply.
Understanding why water temperature matters so much in brewing makes it clear why scale on the heating element is so damaging — when heat transfer is blocked by mineral deposits, water never reaches the right temperature to brew properly, even if it does manage to flow through.
How to descale your Mr. Coffee with white vinegar:
- Empty the carafe and remove any coffee grounds from the filter basket.
- Fill the water reservoir with a 50/50 mixture of white vinegar and clean water. For a 12-cup machine, that’s approximately 6 cups of vinegar and 6 cups of water.
- Place the empty carafe on the warming plate and close the lid fully.
- Start a normal brew cycle and let it run to completion — don’t interrupt it midway.
- Discard the vinegar solution from the carafe.
- Fill the reservoir with fresh, clean water only.
- Run a second full brew cycle with just water to rinse out any residual vinegar taste.
- Repeat the water-only rinse cycle one more time for good measure.
If your machine has a dedicated CLEAN button — common on newer Mr. Coffee models — use that instead. It runs an extended cycle specifically engineered to flush out buildup more thoroughly than a standard brew cycle. Just press and hold the clean button and the machine handles the rest. The clean indicator light will flash when descaling is overdue, and it will turn off once the cycle completes successfully.
After descaling, many machines that appeared completely dead will start brewing normally again. If yours doesn’t, keep working through the list.
Fix 3: Clear the Brew Needle on Single-Serve Models
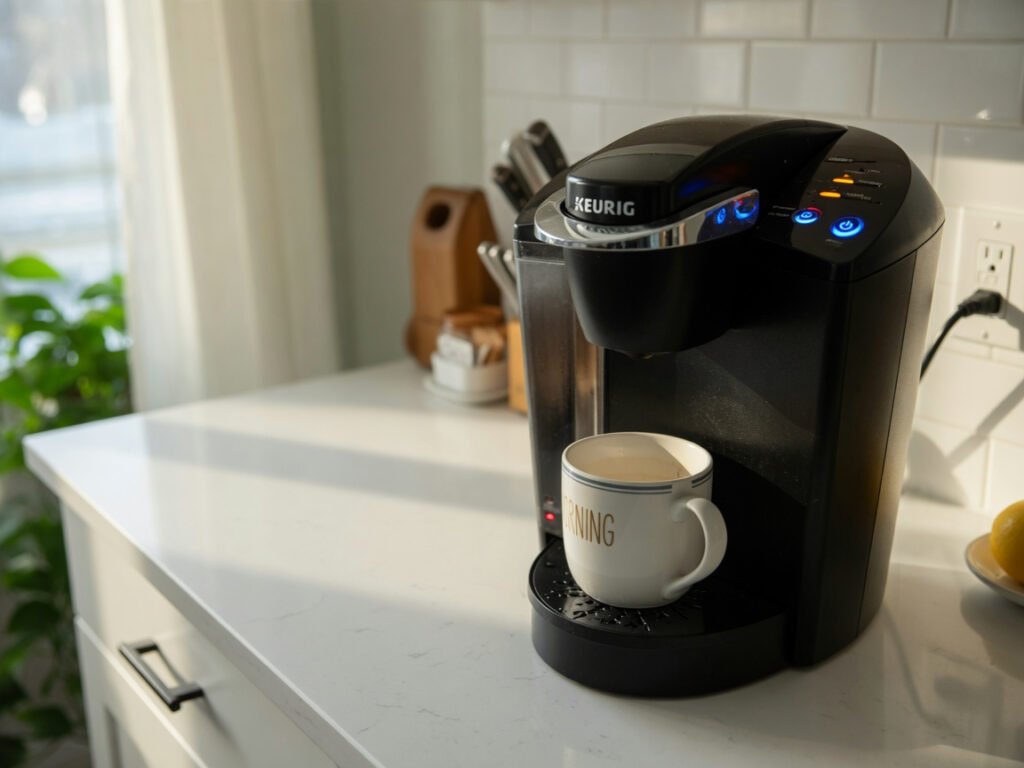
If you have a single-serve or K-Cup-compatible Mr. Coffee machine, the brew needle is a frequent source of brewing failures. This small, hollow needle punctures the top and bottom of a coffee pod to allow water to flow through. Coffee grounds, dried oils, and mineral deposits can clog it over time — and when it’s blocked, water simply can’t pass through regardless of what else you try.
Industry surveys of single-serve coffee maker users indicate that needle clogs account for approximately 40% of “machine stopped brewing” complaints on pod-based systems. Clearing one takes about two minutes and requires nothing more than a toothpick.
How to clear a clogged brew needle:
- Unplug the machine and let it cool completely before touching internal components.
- Open the pod holder compartment and remove any pods or debris inside.
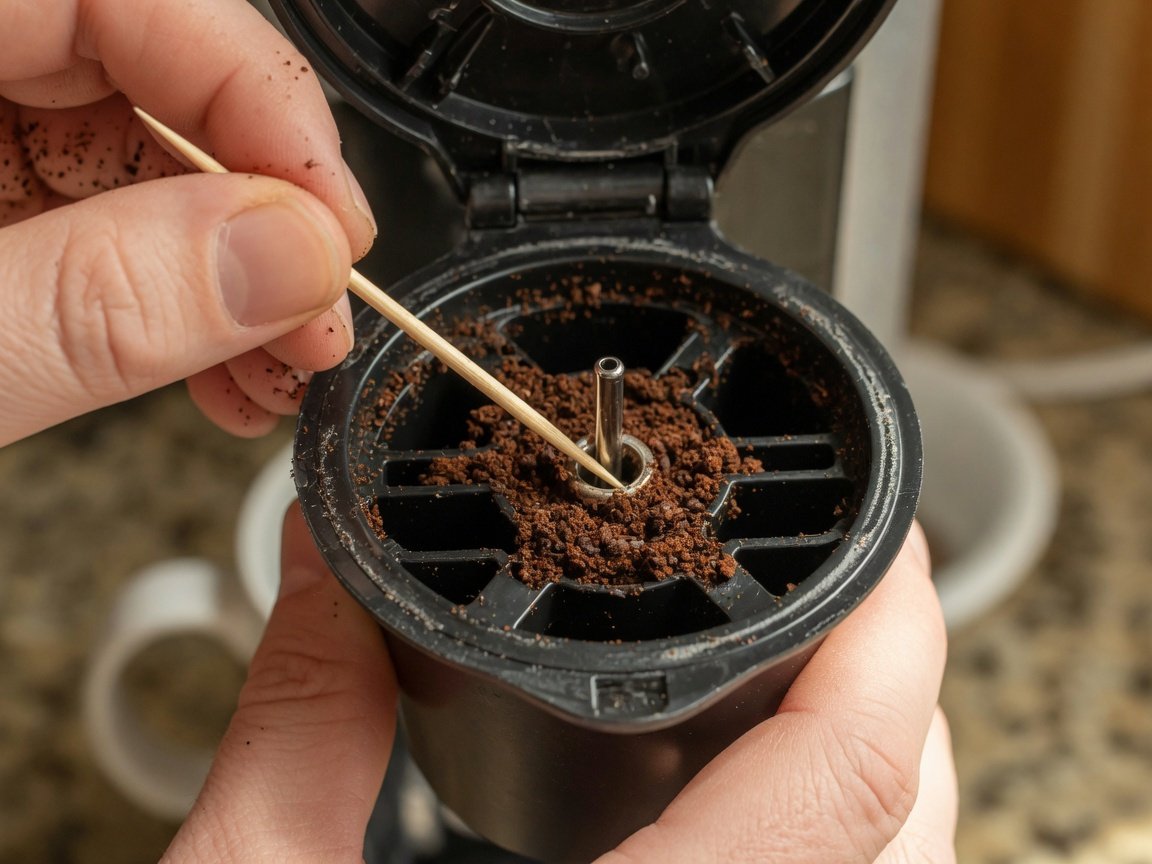
- Locate the brew needle — it’s the small pointed metal piece inside the pod compartment. Most models have one needle in the lid and one at the base of the pod holder.
- Straighten a paperclip or use a toothpick and gently insert it into the needle opening. Move it in a circular motion to loosen any blockage without bending the needle.
- Rinse the pod holder under warm running water to flush out loosened debris.
- Run two or three full brew cycles with just water and no pod to clear any remaining residue from the internal tubes.
Some Mr. Coffee single-serve models include a dedicated needle-cleaning tool in the original packaging. If you still have it, use it — it fits the needle precisely and eliminates any risk of accidental damage.
Fix 4: Inspect and Replace the Coffee Filter
A clogged or incorrectly positioned coffee filter causes more brewing problems than most people expect. When a paper filter collapses inward or a permanent mesh filter is packed with compacted grounds, water backs up in the brew basket and can trigger an overflow safety mechanism that halts brewing entirely. Some machines actually stop mid-cycle rather than risk hot water spilling over the basket.
First, check that you’re using the right filter size for your specific Mr. Coffee model — a filter that’s too large will fold over and block the basket drain. Second, if you’re using a permanent mesh filter, hold it under hot water and use a soft brush to scrub out any packed oils and fine grounds. These can seal the mesh almost completely over time, reducing water flow to nearly zero.
Overfilling the basket also strains the filter and accelerates clogging. Knowing the right amount of coffee grounds per cup is one of the simplest ways to protect both your filter and your machine’s internal components from unnecessary wear.
If you’ve been using the same permanent filter for two or more years, replacing it is worth considering. Mesh filters degrade gradually and develop micro-tears that let fine grounds into the carafe — another reliable sign the filter is past its useful life. When choosing a replacement, make sure it’s rated for your specific Mr. Coffee model. For a broader comparison of filter materials and their trade-offs, this deep dive into choosing the right coffee filter is worth a read before you buy.
Fix 5: Reset the Machine
Modern Mr. Coffee machines are controlled by small microprocessors that manage the brewing cycle. Like any electronic device, these can occasionally lock up or get stuck in an error state — especially after a power surge or an interrupted brew cycle. A simple reset clears these temporary faults in seconds.
- Turn the machine off using its power button.
- Unplug the power cord from the wall outlet entirely.
- Wait a full 60 seconds — not just a few seconds. This allows the control board’s capacitors to fully discharge and the system to reset.
- Plug the machine back in.
- Attempt a standard brew cycle.
On models with a programmable display and scheduled brew timer, a pending or corrupted schedule can sometimes interfere with manual brewing. Check your model’s user manual for the specific button combination to clear any stored brew schedule — this step is easy to miss and occasionally solves stubborn problems that a simple power cycle doesn’t.
Fix 6: Check the Water Reservoir for Cracks or Seal Failure
A cracked reservoir or a failed seal between the reservoir and the machine body lets water escape before it ever reaches the heating element. The machine attempts to brew, but no water flows through the system. This is less common than scale buildup but does happen — especially on machines that have been knocked off a counter or are more than five years old.
To check, fill the reservoir completely with water and place the machine on a dry paper towel. Watch for moisture appearing under or around the base over the next few minutes. Even a slow drip is enough to cause brewing failure. If you find a crack, replacement reservoirs for most Mr. Coffee models are available online for $10–$25 — a much cheaper solution than a new machine.
Fix 7: Test and Replace a Blown Thermal Fuse
If the simpler fixes haven’t worked, the problem may be electrical. The thermal fuse is a small safety component designed to blow — like a household electrical fuse — if the machine overheats. Once a thermal fuse trips, the machine won’t operate at all, even if everything else is in perfect condition. This is intentional: it prevents the heating element from becoming a fire hazard.
Thermal fuse failure is the most common electrical fault in drip coffee makers, and it’s almost always a downstream consequence of preceding scale buildup that made the heating element work harder and run hotter than it should. Replacement fuses typically cost $2–$8 and are available online. Replacing one does require opening the machine’s casing, which will void any remaining warranty.
How to test and replace the thermal fuse:
- Unplug the machine completely and let it cool for at least 30 minutes.
- Remove the bottom plate or rear casing using a Phillips-head screwdriver.
- Locate the thermal fuse — it’s a small cylindrical component attached directly to the heating element, typically wrapped in white ceramic or plastic.
- Set your multimeter to continuity mode (or the ohm/resistance setting).
- Touch the probes to each terminal of the thermal fuse. A working fuse will show continuity — your multimeter will beep or show near-zero resistance. A blown fuse shows no continuity at all.
- If it’s blown, note the temperature rating printed on the fuse body — commonly 140°C or 167°C on Mr. Coffee models — and order an exact match.
- Install the replacement fuse by soldering or using a butt connector, reassemble the machine, and test with a brew cycle.
Note: Only attempt this if you’re comfortable working inside small appliances. Working on a completely unplugged machine is safe, but being methodical matters here. If you’re not confident, move directly to Fix 10.
Fix 8: Inspect the Heating Element
If the thermal fuse tests fine but the machine still refuses to brew, the heating element itself may have failed. The element heats water to brewing temperature and is a wear component — after years of daily use, elements can burn out or develop internal breaks. You can test it with a multimeter the same way you tested the fuse: check for continuity between the element’s terminals. No continuity means the element has failed.
Replacing a heating element is more involved than replacing a fuse and usually isn’t cost-effective if your machine is more than five to seven years old. At that point, a new machine is almost certainly the better investment — both financially and in terms of reliability going forward.
Fix 9: Check the Control Board and Display
On programmable Mr. Coffee models with digital displays, the control board can fail — particularly after a power surge. Signs of a control board issue include a blank or partially lit display, buttons that don’t respond, or a machine that powers on but never initiates a brewing cycle regardless of settings. Control board replacements exist for some models and typically cost $30–$60, which is often close to half the price of a new machine. Unless you have a higher-end model, a replacement machine is usually the more practical and reliable path from this point.
Fix 10: Contact Mr. Coffee Support or Consider a Replacement
If you’ve worked through all the fixes above and your machine still won’t brew, it’s time to reach out directly to Mr. Coffee customer support at 1-800-672-6333, available Monday through Friday. Have your model number ready — it’s usually on a sticker on the bottom of the machine. They occasionally offer warranty replacements or discounted repair programs, especially for machines under two years old.
If your machine is out of warranty and the repair cost would exceed roughly 50% of a replacement’s price, buying new almost always makes more financial sense. Modern drip coffee makers have improved meaningfully in reliability and features over the past few years. If you’re considering an upgrade, a thorough 30-day review of the Cuisinart DCC-3200BKSP1 covers one of the most popular alternatives at a comparable price point. And if you’re open to moving beyond the drip machine entirely, there’s a whole range of eco-friendly brewing methods that produce exceptional coffee without any components that can scale up, clog, or blow a fuse.
How to Keep Your Mr. Coffee Brewing Perfectly From Here On
Once your machine is brewing again, a small amount of ongoing maintenance keeps it that way. The single most important habit is consistent descaling. Mr. Coffee recommends running a cleaning cycle every 40–80 brew cycles — for daily brewers, that works out to roughly every 6–8 weeks. If your tap water is particularly hard, aim for every 4 weeks instead.
Beyond descaling, rinse the carafe and filter basket after every use. Coffee oils left to sit gradually build into a residue that progressively blocks the basket and contributes to off-flavors in your brew. Wipe down the exterior and warming plate weekly, and deep-clean the brew basket with warm soapy water once a month.
Switching to filtered water makes a substantial difference in how quickly scale accumulates. Studies comparing filtered and unfiltered tap water in drip brewers show that filtered water can reduce descaling frequency by 30–50% in hard-water areas. A basic pitcher filter is all you need — it doesn’t have to be expensive to be effective.
| Maintenance Task | Recommended Frequency | Why It Matters |
|---|---|---|
| Descale with vinegar or descaler | Every 40–80 brew cycles (~6–8 weeks) | Dissolves calcium buildup and restores full water flow |
| Rinse carafe and filter basket | After every use | Prevents oil and residue accumulation |
| Deep-clean brew basket with soap | Monthly | Removes stubborn coffee oils and fine grounds |
| Wipe exterior and warming plate | Weekly | Stops residue from baking onto surfaces |
| Inspect brew needle (single-serve) | Monthly | Catches clogs before they stop brewing |
| Use filtered water | Ongoing | Reduces scale accumulation by up to 50% |
Frequently Asked Questions About Mr. Coffee Not Brewing
Why is my Mr. Coffee making noise but not brewing?
If your Mr. Coffee hums or gurgles but produces no coffee, water is failing to move through the system. The most likely cause is severe mineral buildup blocking internal flow, or a clogged brew needle on pod-based models. Start with a full descale cycle using a 50/50 vinegar-water solution. If the sounds continue but still no coffee comes out, inspect the brew needle next.
How do I reset my Mr. Coffee maker?
Unplug your Mr. Coffee from the wall outlet and wait a full 60 seconds — this allows the control board to completely drain and reset. Plug it back in and attempt a brew cycle. On models with a CLEAN button, pressing and holding it for 5 seconds triggers a system reset that also clears any stored brew schedule that might be interfering with manual operation.
How often should I descale my Mr. Coffee?
Mr. Coffee officially recommends descaling every 40 to 80 brew cycles. For most daily brewers using moderate tap water, that works out to every 6–8 weeks. If the clean indicator light comes on more frequently than that, it’s a strong signal to switch to filtered water — it makes a meaningful difference in how fast mineral deposits build up inside the machine.
Can I use something other than white vinegar to descale?
Absolutely. Commercial coffee maker descaling solutions are effective and leave less residual smell than vinegar. Citric acid dissolved in water at about 1 tablespoon per liter is another affordable option that works well. Avoid bleach, baking soda, or dish soap inside the water reservoir — these can damage seals, tubes, and internal components in ways that aren’t immediately obvious.
What does a flashing clean light mean on a Mr. Coffee?
A flashing CLEAN light means the machine’s sensors have detected enough mineral buildup to prompt a full descaling cycle. Fill the reservoir with a 50/50 vinegar-water mixture, press the CLEAN button, and let the extended cycle run to completion — it takes longer than a standard brew cycle. The light will turn off once the machine has finished. If the light returns within just a few days of descaling, your water is very hard and switching to filtered water should be your next step.
How long does a Mr. Coffee machine typically last?
With regular descaling and cleaning, a Mr. Coffee can easily last 5–10 years. Machines that are never cleaned typically fail within 2–3 years, as permanent mineral blockages build up in the heating element and tubes to the point where no amount of cleaning can restore normal flow. Descaling consistently is genuinely the single biggest factor in how long your machine lasts.
My Mr. Coffee is brewing slowly — is that the same problem?
Yes, almost always. Slow brewing is typically an early-stage version of the same mineral buildup that eventually stops brewing completely. Treat it as a warning and descale immediately — you’ll restore full brew speed and prevent a complete failure down the road. A partially clogged filter basket can also be the culprit, so check and clean that as well while you’re at it.
Getting Your Morning Back on Track
A Mr. Coffee that won’t brew is almost always a fixable problem, not a death sentence for the machine. Work through the fixes in order — starting with the power and seating checks, then descaling, then the brew needle and filter — and you’ll resolve the issue in the vast majority of cases without spending a dollar. Save the electrical troubleshooting for last, and only go there if the simpler fixes don’t do the trick.
The real takeaway here is prevention. A five-minute vinegar descale every six to eight weeks keeps the most common problems from ever developing. Pair that with filtered water, a quick rinse of the basket after each brew, and a monthly deep-clean — and your Mr. Coffee can reliably serve up a great cup every single morning for a decade or more.
And if your machine turns out to be genuinely past saving? Consider it a good excuse to explore what else is out there. There are more ways to brew excellent coffee than most people realize — and many of them are even simpler than a drip machine.
—